

Flowise is an open-source platform designed to make building AI agents and workflows accessible to everyone, from curious beginners to seasoned developers. Its drag-and-drop interface removes much of the complexity traditionally associated with AI projects, while still leaving room for advanced customization. If you are just starting with Flowise, you may be wondering how to move from a blank canvas to your very first working agent. This guide takes you through installation, setup, and the process of building your first project step by step.
Contents
Why Flowise?
Before we dive into setup, let’s briefly cover why Flowise is worth your time. Many AI development platforms are either too rigid or too technical for newcomers. Flowise strikes a balance: it is open source, flexible, and visually intuitive. Instead of writing extensive code, you design workflows by connecting nodes that represent different functions, such as input, retrieval, or output. This makes it a great entry point for building AI-powered tools while still giving developers room to extend functionality with custom integrations.
👉 Sign up for a free Flowise AI account
Step 1: Install Flowise
The first step is installation. Flowise can be run locally for personal experimentation or deployed in the cloud for team projects. If you are starting out, running it locally is the simplest option.
Local installation checklist
- Install Node.js v18 or later on your machine.
- Clone the Flowise repository with
git clone https://github.com/FlowiseAI/Flowise.git. - Navigate into the directory and run
npm installto install dependencies. - Start the app with
npm start. By default, Flowise runs athttp://localhost:3000.
If you prefer containerization, Docker images are available. For production, consider cloud hosting so your agents are accessible to teammates and end users.
Step 2: Configure Environment Settings
Before you can create an agent, you need to configure Flowise with the right keys and settings. This ensures your workflows can access LLMs, databases, and external services.
Key configuration steps
- API keys: Add keys for the language model provider you plan to use (e.g., OpenAI or Anthropic).
- Vector database: If you want retrieval-based agents, connect to a database such as Pinecone, Weaviate, or PostgreSQL with pgvector.
- Security: Store sensitive information in environment variables instead of embedding them directly in workflows.
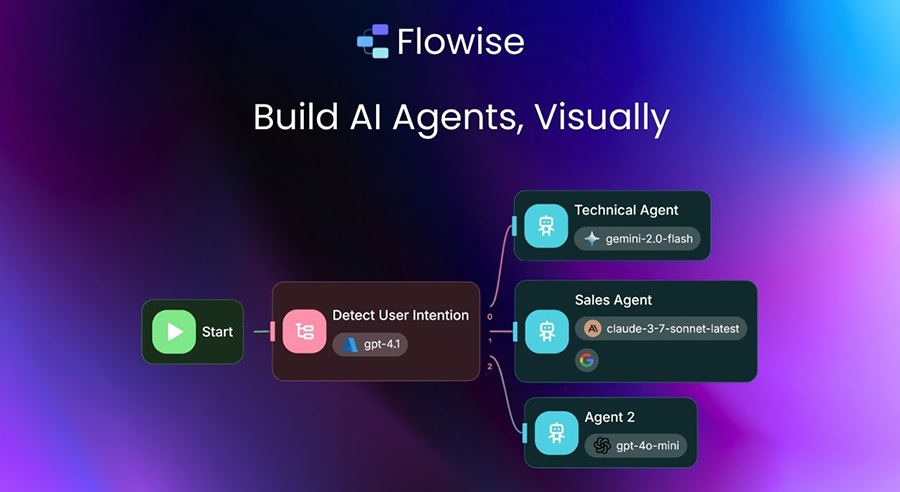
Step 3: Explore the Interface
Once Flowise is up and running, you’ll see its visual canvas where workflows are built. Each node represents a function, and you connect nodes to define how information flows from input to output. Spend some time exploring built-in nodes – you will find components for chat input, LLM processing, data loaders, and more.
Step 4: Build Your First Agent
Now it is time to create your first project. A great beginner example is a simple Q&A assistant that answers questions about a PDF document.
1. Start a new flow
Click “New Flow” and give your project a descriptive name, like PDF Helper Agent.
2. Add input
Drag a chat input node onto the canvas. This will capture the user’s questions.
3. Load knowledge
Use a PDF loader node to upload your document. Connect it to a vector store node, which stores embeddings for retrieval.
4. Add the LLM
Insert an LLM node and connect it to both the input and the retriever. This allows the model to process user queries with context from the document.
5. Output the response
Finally, drag a chat output node onto the canvas and connect it to the LLM node. This closes the loop and ensures the user gets an answer.
Step 5: Test and Refine
Upload a PDF and ask questions to see how your agent responds. If the answers are vague, refine your setup. You can adjust chunk sizes, modify prompt instructions, or try a different embedding model. Iteration is key to improving accuracy and usability.
Tips for better results
- Write prompts that guide the model clearly.
- Break large documents into smaller sections for more precise retrieval.
- Log queries and responses to see how users interact with your agent.
Step 6: Deploy Your Agent
Once your agent is working reliably, you can deploy it. Flowise allows agents to be embedded in websites, connected to messaging platforms, or exposed via API. For customer-facing use, embedding in a site or app is common. For internal tools, integration with Slack or Teams may be more effective.
Common Beginner Mistakes
Here are some pitfalls new users often encounter:
- Skipping configuration: Forgetting to set up API keys or databases will limit your agent’s abilities.
- Overcomplicating the first project: Start simple before tackling advanced flows.
- Ignoring security: Never embed sensitive keys directly into workflows.
- Lack of testing: Test with varied inputs, not just one or two questions.
Best Practices for Beginners
- Start with a clear goal for each project.
- Use descriptive labels for nodes and flows.
- Leverage templates and reusable flows to save time.
- Involve users early to gather feedback.
- Document your workflow decisions for future reference.
Flowise lowers the barrier to entry for building AI agents, letting you move from installation to a working project in a single session. By following these steps – installing, configuring, exploring the interface, building, testing, and deploying – you will create your first agent with confidence. This is just the beginning; as you grow more comfortable with the platform, you can explore more advanced builders, custom integrations, and automation strategies. Flowise is designed to scale with you, from your first experiment to enterprise-ready workflows.